#HTE
Furniture Design Basics: What is Edge-Banding, Why is It Used, How Can You Easily Apply It?
This is written for those readers who are new to furniture design but are interested in learning more, either as an aspiring designer or as a consumer with a critical eye.
________________________________________________________________________
While furniture has been built from wood for millennia, natural wood presents problems for mass production. Wood expands and contracts with changes in humidity, requiring clever (and time-consuming, thus expensive) design and construction tricks to prevent joint failure. You can learn more about this topic here.

That’s why manufacturers like using plywood and particle board. These engineered woods are not susceptible to wood movement, come from the factory reasonably flat and will not warp to the degree that natural wood will.
However, seeing the edges of plywood or particle board is widely considered undesirable, for two reasons. The first is that it’s simply considered ugly.

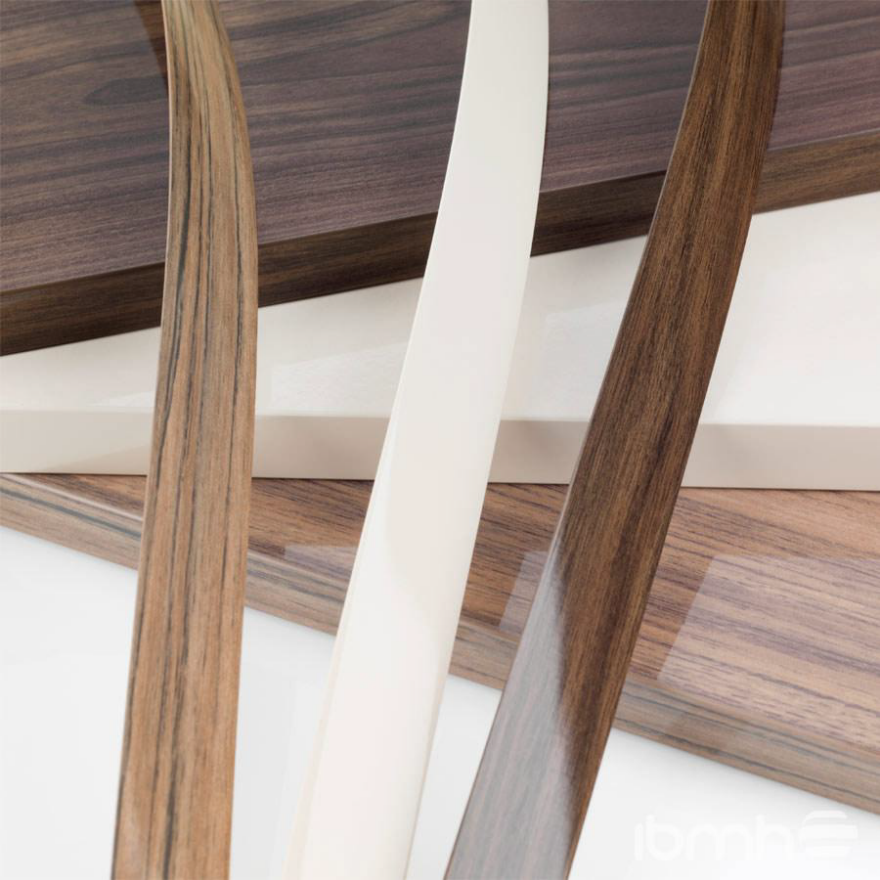
The second is that manufacturers may not want you to know that they’re using plywood or particle board. Thus they glue edge-banding, or thin strips of veneer with adhesive on one side, to the exposed edges in order to give the visual impression of a solid piece of wood.

How Can You Spot Edge-Banding?
It’s easy. Natural wood boards have three types of grain: Face grain, edge grain and end grain:

The giveaway for an edge-banded board is that you’ll see edge grain where you ought to see end grain, as seen in the photo below. Edge-banding is not a new practice, by the way, and you’ll even see it on vintage pieces of furniture. For example, here’s a shot of one of my sewing machine cabinets, manufactured by Singer in the 1950s.

The face grain runs towards the camera on the top surface, meaning we should see end grain on the edge that’s facing us. Instead we see edge grain running left to right. Look for this grain-disconnect and you can tell real wood from engineered wood every time.
How Can You Apply Edge-Banding?
Applying edge-banding manually used to be a pain in the butt. You had to use an iron to melt the adhesive and basically steam the stuff on, and it was easy to get the level of heat incorrect, screwing up the adhesion. Nowadays there are far easier methods to apply edge-banding. Here are two options:
If you’ve got deep pockets, buy a Festool Conturo. We covered that machine in detail here. It’s amazing at what it does, but at $2,800 - $3,200 it’s also prohibitively expensive for anyone who doesn’t produce furniture or do installations for a living.
For those looking for a more affordable entry into edge-banding, I can recommend FastCap’s FastEdge system. I bought into it last year after seeing videos by two esteemed YouTube makers, Ron Paulk and Izzy Swan, endorsing it. First off, here’s Paulk explaining the merits of FastCap’s system versus the old way of doing it:
Here’s Swan showing you how he uses it, and the workshop station he built to make the work go faster:
Note: Core77 is not officially endorsing FastCap’s system; we have no arrangement with them and I personally purchased their materials for my own projects. I did not announce myself as a member of the press nor receive special pricing or treatment—in fact there was a shipping error that I had to call them three times to correct. I paid full retail, breakdown below:

In short, I like their system because I find it easy to use, and I was willing to invest in the tools.
Edge-banding pros among you: Do you have recommendations for your own methods and preferred products? Help the noobs out and share the info!
http://www.core77.com/posts/53550/Furniture-Design-Basics-What-is-Edge-Banding-Why-is-It-Used-How-Can-You-Easily-Apply-It
